Archive for July, 2012

Butterfly Magnets

20120727-223702.jpg

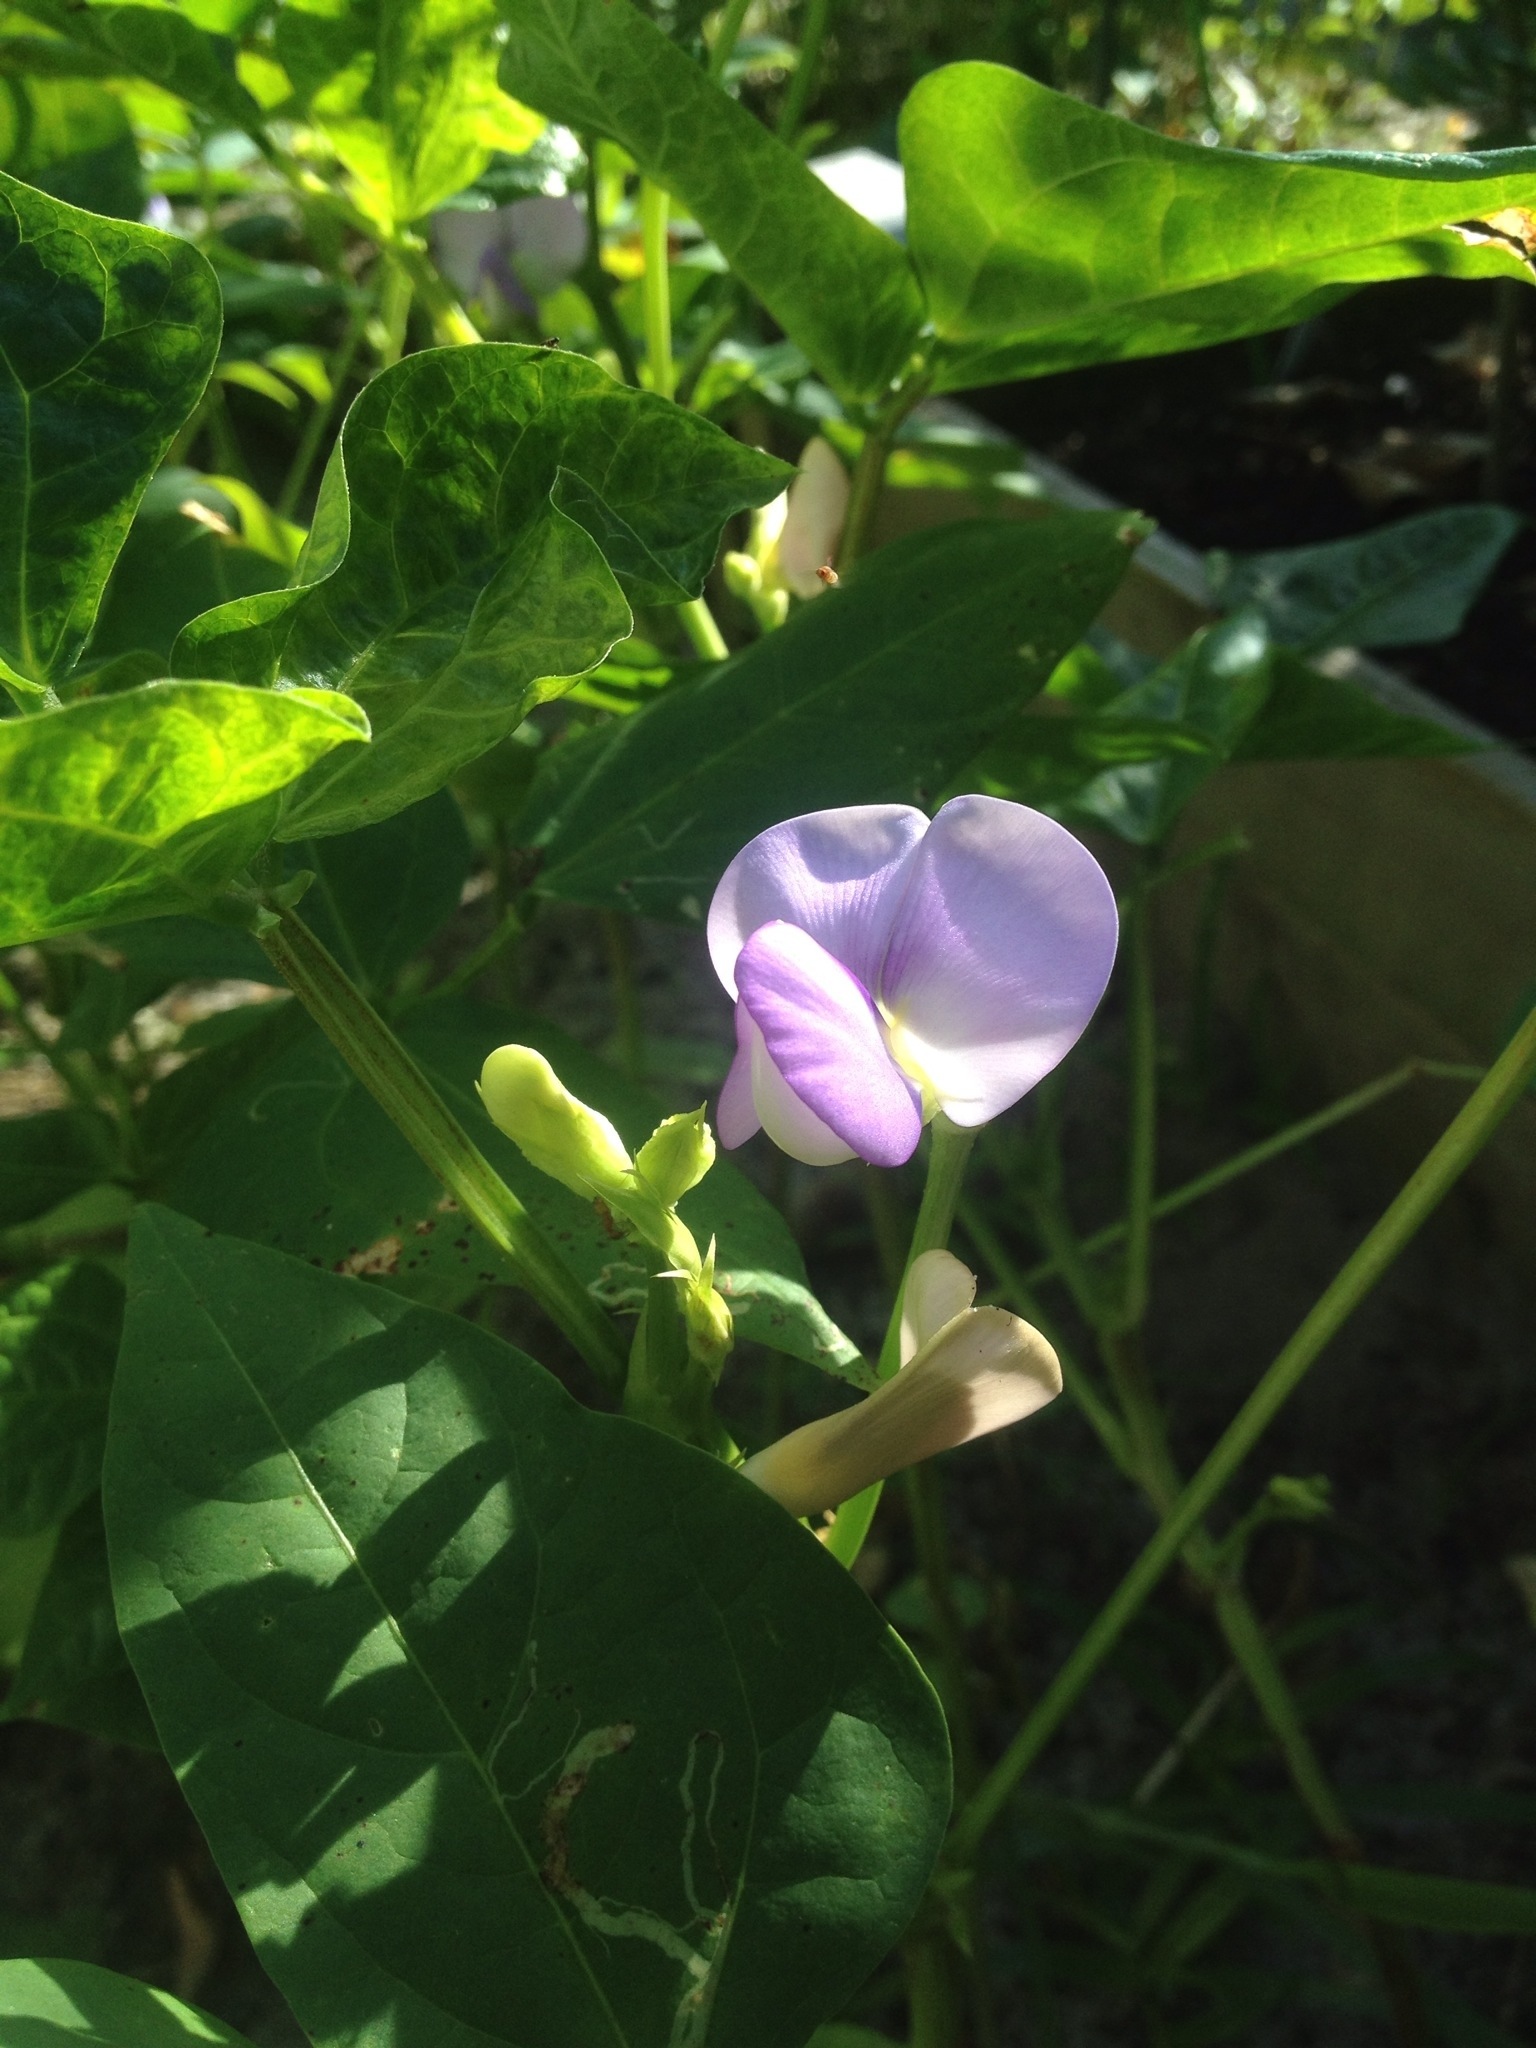
Earlier this week, I posted about my effort to find a suitable location in which to install my new plant, Duranta erecta, also known as Sapphire Showers. This new plant is shown above. My goal has been to use this plant to solve several simultaneous landscaping challenges. First and foremost, I would like for this plant to obscure the electric meter and other utility interface boxes from view. I need to leave access to these fixtures, but I don’t need to leave them fully exposed to view from the road or the yard. After studying the placement of the underground utility cables, I decided that the best location was just a few feet from where I had originally planned to place it.

Secondly, there are some unsightly stumps in this area, and I would like this plant to shield them from view as well. The stumps themselves are leftovers from some very thick greenery that I took out last year when I started my butterfly garden. Some of that greenery was a cluster of the highly invasive camphor tree, and some of it was anise bush (Illicium parviflorum). Although that is a decent landscaping plant, it was originally planted too close to the house, and it was becoming increasingly difficult to manage. There are actually numerous stumps clustered closely together at various angles ranging in size from about half an inch to four inches or so. I have trimmed them as close as I can to the ground, but there’s still quite a bit left. As best I can figure, it isn’t worth the effort or scraped knuckles it would take to get them the rest of the way to ground level or to remove them by hand. They are also too close to the house to safely operate a stump grinder. So, my goal for now is to simply make them less visible while they slowly decay over the coming years. If you look closely, you will see these stumps in some of the pictures I post now and then.

A third goal for this plant is for it to be an integral, positive addition to my butterfly garden. I have a patch of ground in that garden that has gone bare over the last few weeks, presenting a good opportunity to rework the design. My thought has been to place this plant in that section. When this section is viewed from the front, the first foot or so above the ground is hidden by several rows of flowers and low-to-the-ground flowering shrubs. You can see this perspective in the picture below. All of those plants are species native to Florida, and all of them serve as nectar sources for adult butterflies. Species represented in this section include Lantana depressa, Salvia coccinea (Scarlet Sage), Rudbeckia hirta (Black-eyed Susan), Gaillardia pulchella (Indian Blanket Flower), Coreopsis lanceolata, Silphium integrifolium (Rosinweed), Scutellaria lateriflora (Blue Skullcap), and Asclepias tuberosa (Butterfly Milkweed).

20120728-080337.jpg

All of the plants in that section produce showy flowers that attract adult butterflies in search of nectar. But if you really want to attract butterflies to your garden in large numbers, it is imperative for you to plant sources of larval food, that is, you need to feed the caterpillars. Nearly all butterfly species are highly selective with respect to the types of food they can eat as caterpillars. As adults, the females will seek out those plants as a place to lay their eggs. They then hatch out as caterpillars and happily munch away until it is time to pupate, and then emerge as adult butterflies. The butterflies seek out nectar sources for sustenance, seek mates for reproduction, and the cycle continues. So the key to successful butterfly gardening is to plant larval sources specific to the butterfly species you wish to attract, and to plant a variety of nectar sources sufficient to entice the adults into hanging around instead of wandering off elsewhere in search of food.

Because the larval sources in a butterfly garden are intended to be eaten by caterpillars, it is a fairly common practice to position them in places where they are not visible to most passers-by. This is what I have been doing (with mixed success) in what has become a largely bare patch. There are still a few specimens left in this patch, but they blend in so well with the sandy ground and leaf debris, they are nearly invisible at first glance. An example of this is bronze fennel. There really are three decent sized bronze fennel plants in the picture below. They are all along the right-hand side of this picture, but unless you know what to look for, you will have a really hard time finding them. Can you spot them?

20120727-223737.jpg

By the way, bronze fennel is a favorite of the Black Swallowtail butterfly, and I have had several of them start their lives here since I started this butterfly garden. I see them fairly frequently nowadays. Another favorite of the Black Swallowtail is rue, which is the plant that inspired the design of the clubs symbol on a standard deck of playing cards. I had several of these in this area, but they all suddenly and mysteriously died in recent weeks. There are also several species of foods that humans eat which serve as larval sources, although I do not have any growing here yet. This includes parsley, dill, fennel (the edible kind), carrots, and others. Expect to see some of these show up here in a future post once I figure out how I want to integrate these food crops into my butterfly garden.

Some plants serve dual purposes as both larval and nectar sources. A classic example is the genus Asclepias, commonly known as milkweed, as mentioned above. There are many species of milkweed, several of which I have growing in my butterfly garden. All of them serve as larval food for the Monarch. In fact, Monarch caterpillars are incapable of eating anything other than milkweed. Milkweed grows natively throughout North America, but it usually gets taken out along with other native vegetation when land is developed. This is why gardeners planting milkweed is so crucial to the survival of this beautiful and unique species of butterfly.

Just a couple days ago, I found the youngster below, happily munching away on one of the many milkweeds in my garden. Monarch caterpillars are voracious eaters, and will strip a milkweed of its leaves and flowers in a matter of days, leaving nothing but nubs and bare stalks. If you look near the left-hand edge of the picture above, at about the same level as the pot, you will see what a milkweed looks like once the caterpillars get through with it. This actually does not harm the plant; it will bounce back completely in a couple weeks or so.

20120728-082520.jpg

Another plant that serves a dual purpose is the genus Passiflora, commonly known as the passion vine or passion flower. These take up considerable space, so at this time I only have one specimen, a P. caerulea, or blue passion vine. These serve as hosts for two of the butterflies we have locally, include the Zebra Longwing (our state butterfly) and the Gulf Fritillary. Passion vine flowers are short-lived, but incredibly exotic looking. In the picture below, you can see one that was in my garden a couple weeks ago. One day it was a bud, the next day it was as you see below, and by the third day, it was gone. While present, butterflies will stop by for a drink.

20120728-082431.jpg

In the picture below, you can see what the vine looks like, along with a Gulf Fritillary caterpillar. As adults, they look like the one shown back up at the top in the first picture of this blog post. There you will see it enjoying my new plant, even before I placed it in the ground. Take note of its size relative to the flowers on the Duranta.

20120728-082451.jpg

In the next picture, you will see another butterfly that stopped by during the time I was conferring with my wife about the placement of the new plant. Look closely. It is mostly white with some black markings, and it is on a flower very near the center of the picture. You will note that this one is much smaller than the fritillary. This butterfly is not familiar to me. I am not 100% sure, but I believe it is a female Checkered White. I arrived at this conclusion after consulting my copy of the Butterflies of Florida Field Guide. If any of you are butterfly experts, please feel free to correct me!

Also in that same short time, a butterfly of a third species paid us and the Duranta a visit. This one was a tiny blue butterfly that was too small and too quick for me to get a picture. By consulting my book, I determined that it was probably a Cassius Blue. The largest specimens of this species have a wingspan of only an inch. I don’t grow any of the larval host plants for either of these species, so we may or may not see some return visitors. Nonetheless, we very much enjoyed the show while it lasted!

20120727-223715.jpg

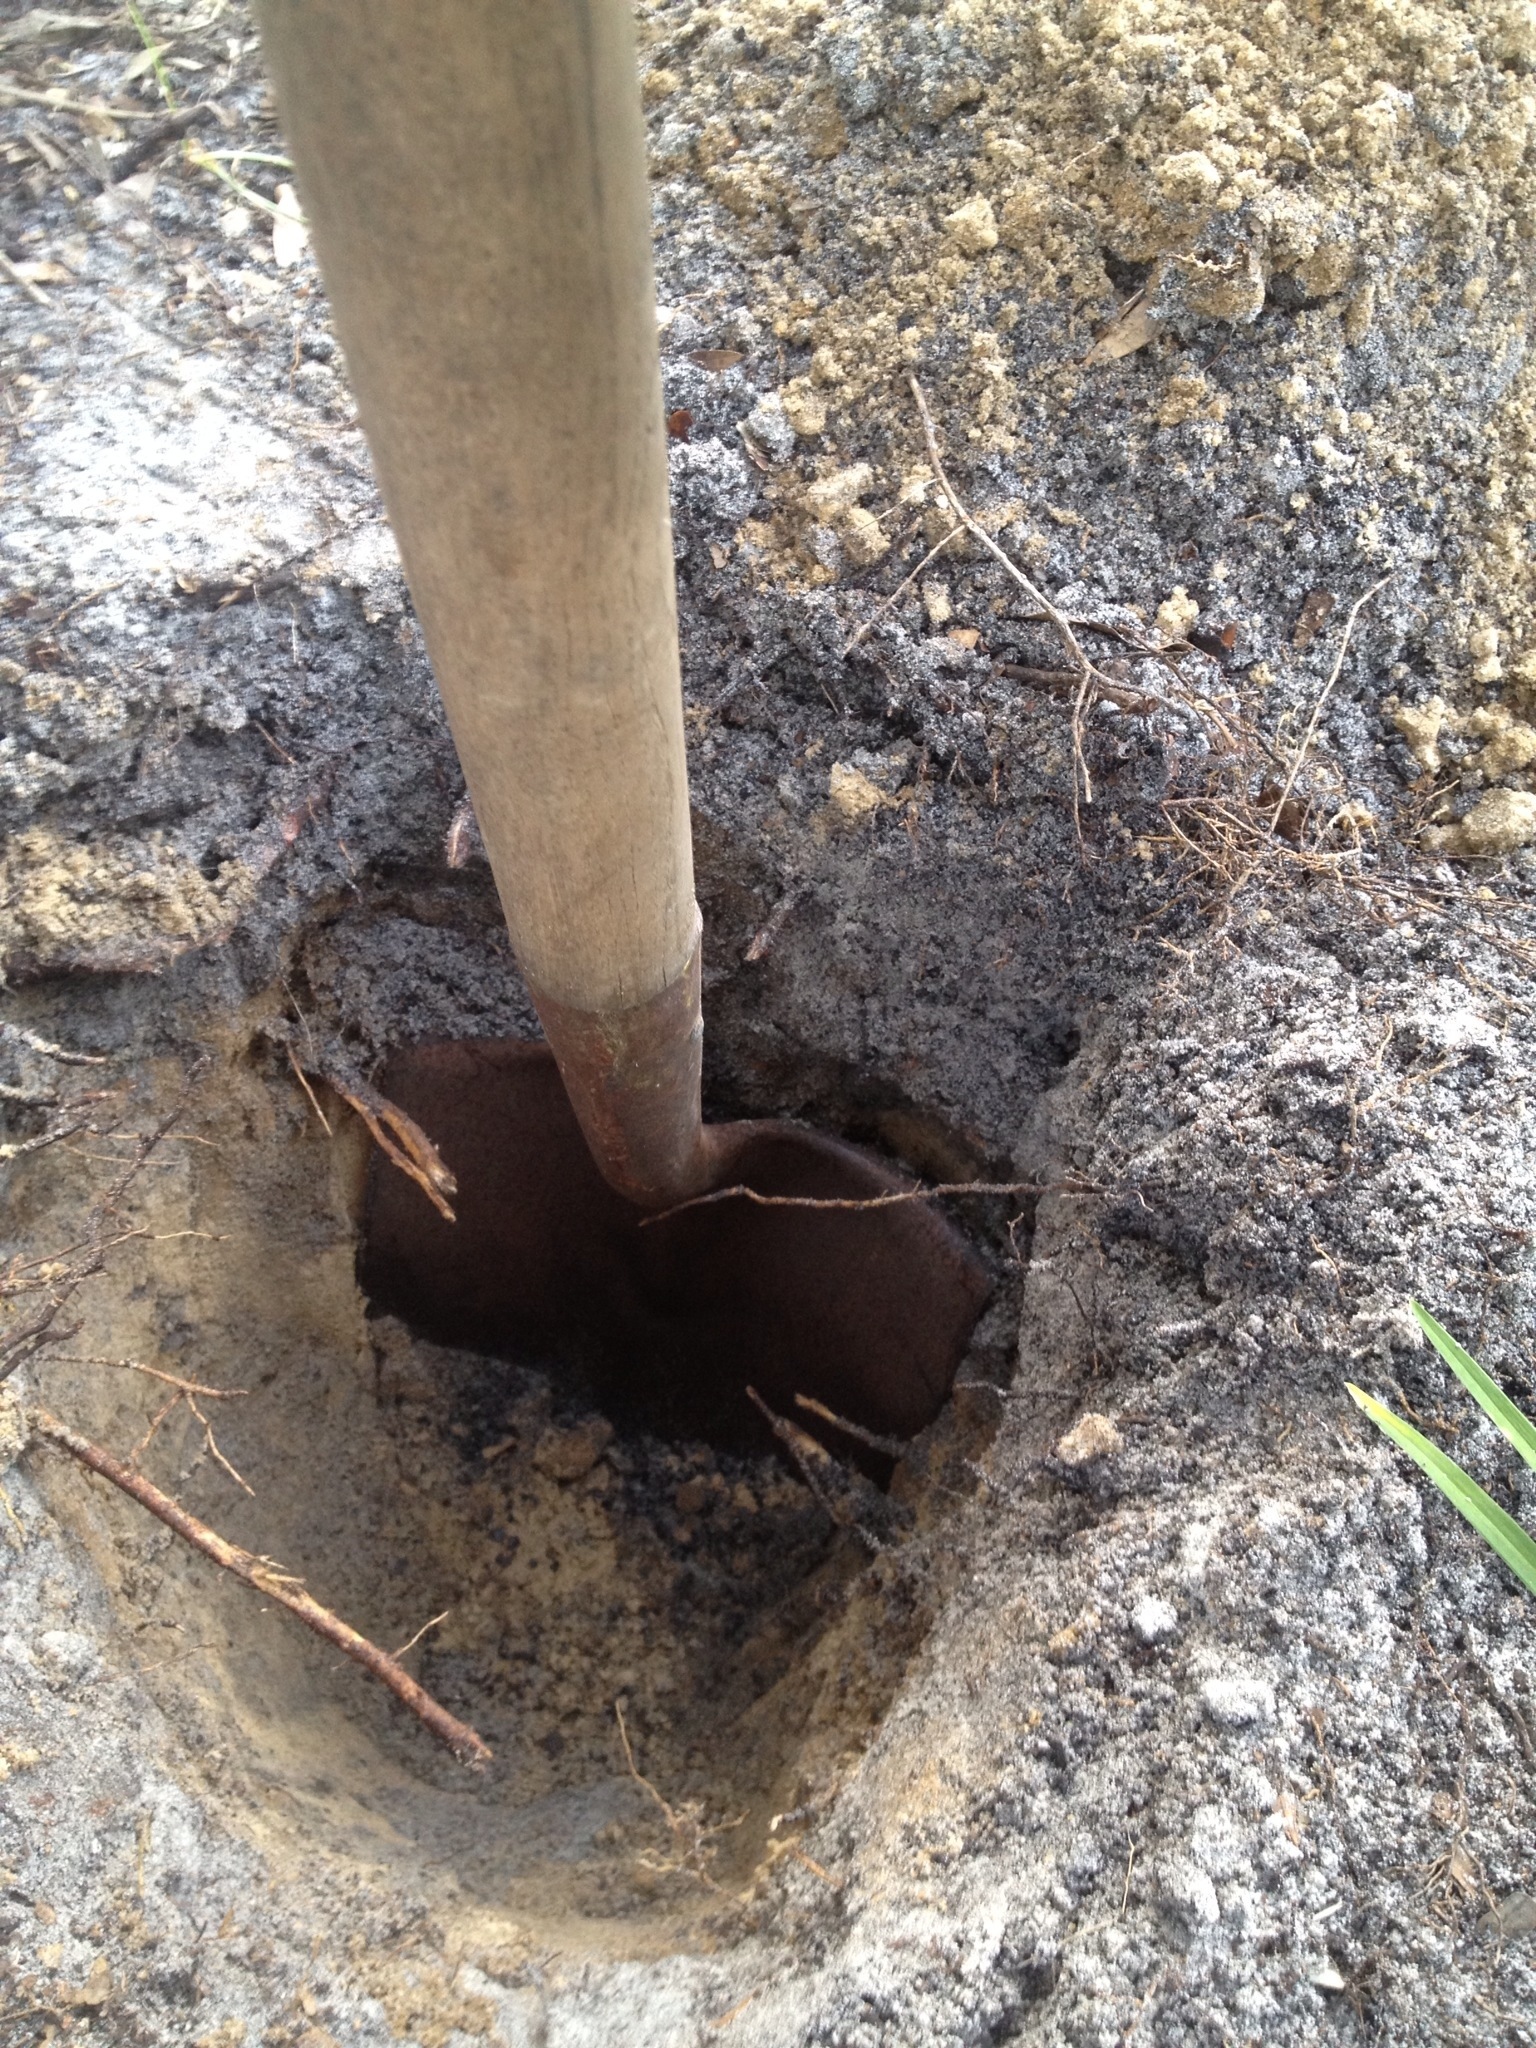
When the butterfly show ended, I proceeded to install the new plant. As you can see by looking at the shovel, it took quite a hole to place it in the ground properly. I had remarkably few roots to deal with, so the digging was fairly easy. It was very nice knowing with certainty that I was digging well away from any utility cables! Once I finished the hole, I filled it partially back in with some Mel’s Mix, augmented with some Plant Tone organic fertilizer. After placing the plant, I filled the hole the rest of the way with Mel’s Mix, tamped it down, and watered it thoroughly.

20120727-223748.jpg

So, in this final picture, you can see the finished product. There it is, perfectly centered between the naked milkweed stalks and the invisible fennel! Ah, the joys of gardening!

20120727-223758.jpg

Until next time, happy gardening!!

Wordless Wednesday Legumes

20120725-190605.jpg

20120725-190615.jpg

20120725-190627.jpg

20120725-190636.jpg

20120725-190645.jpg

Can You Dig It?

If you live in the United States, chances are that you have heard the admonition to “call before you dig.” As a gardener, you may or may not have given it a second thought. For those of you who may not be familiar with it, this is a nationwide program to coordinate utility notification services for the purpose of assisting people with locating the placement of underground utility lines. I can’t speak for how this is done outside the US, but I would imagine that practically everywhere in the developed world has something similar.

Across the US, regulations vary regarding the extent to which home gardeners are required to use the service, but generally speaking, anyone who damages an underground utility line is liable for the cost of repair, and possibly for secondary damages as well. More importantly, when dealing with buried power lines, it can be a matter of personal safety, so why risk it? Keep in mind that digging is digging, even if you only use hand tools. I can’t think of very many things less pleasant than the prospect of using a spading fork to determine the exact placement of an electrical cable. In fact, I suspect that would qualify as a very bad day.

20120723-175635.jpg

I recently decided that whether it was required or not, it would certainly be a good idea for me to use this free service before putting the plant shown above into the ground. The plant is a variety of Duranta erecta known as Saphire Showers. A broadleaf evergreen member of the Verbena family, this plant produces flowers during the spring and summer months, and then produces small yellow fruits popular among birds. The flowers attract both butterflies and hummingbirds. For a period of time in late summer, it will often have both fruits and flowers. It is native to the West Indies, but not Florida, with the possible exception of the Keys (the evidence is contradictory). However, there are no documented cases of it escaping cultivation in Florida. Since it feeds native wildlife without invading wild habitats, it has been deemed “Florida friendly” by the state agricultural extension service. To me, that’s a green light for use in my landscaping.

This plant can grow to about 15 to 20 feet tall, but can also be shaped by regular pruning. It also spreads out about as wide as it is tall. For this reason, I’m seeing it as a nice addition to my butterfly garden, in particular in a place where I would like to obscure the unattractive electric meter and telephone and cable TV connections, which happen to be on the wall right behind the butterfly garden. A portion of that garden has gone bare in recent months, due to some plants dying back. That bare patch is located such that a tall plant there would not block too much sun from the other plants, although it should still get enough for itself. Planting the Duranta in that patch would fill the bare spot, attract butterflies and birds, and grow to hide the eyesores on the wall. But that brings us back to the issue of underground utilities. Where, exactly, are those cables? Do they run straight out from the equipment? Or do they run alongside the wall and then pop straight up to their respective service interfaces?

To make a long story short, I’m glad I called. As you can see from the picture below, the electrical cable (marked in red) runs along the edge of the bare patch, making a wide, sweeping curve before angling across the neighbor’s yard. The phone and cable TV cables, on the other hand (marked in orange), run out from the wall in straight lines but at a slight angle, and then turn toward the back fence, keeping about a one foot spacing between them all the way. I would not have guessed either one of those routings. In the end, I can still use this patch, but I need to alter my plans slightly. I plan to think about it for a few days before sticking my shovel in the ground.

20120723-175701.jpg

As a footnote, I also had the technician mark the routes to the edges of the property, even though I don’t have immediate plans in this area. In the picture below, you can see the orange markings heading toward the white fence in the back. I will be taking careful measurements over the next few days before the markings wash away. That way, when I do make plans, I will know what challenges I’m facing.

20120723-220743.jpg

So, remember to call before you dig. It’s not just for people with backhoes!

Happy gardening!!

Wordless Wednesday Butterfly Garden

20120718-085707.jpg

20120718-085717.jpg

20120718-085727.jpg

20120718-085736.jpg

20120718-085751.jpg

20120718-085759.jpg

20120718-085810.jpg

Cowpeas — here, there, everywhere!

20120717-001551.jpg

The first wave of cowpeas has now yielded the first cowpea harvest of the season! And given that this is the first time I have ever tried growing them, this was my first cowpea harvest ever!! Aside from the “firsts” involved, there wasn’t all that much that was noteworthy about them. The total yield is shown in the picture above. These came from the pods in the picture below. That’s it.

As you can see, they were a mixture of black-eyed and pink-eyed (actually somewhat purplish, but they appear almost brown in this picture). Some of them were green, while others were cream colored. The pods included various shades of green, brown, and purple. If you are familiar with cowpeas or if you have been following my blog posts regularly, you will recognize that the purple pods yielded the pink-eyed peas, given that one of the varieties I planted was Pinkeyed Purple Hull. The others were all California Blackeyed #46.

20120717-001607.jpg

The small yield was not a surprise to me, as I had only planted a few seeds of each kind for the first wave. I did that largely to see how they did with the tight spacing prescribed for the SFG method. As best I can tell, they did just fine. Other than their tendency to lean toward any open space nearby, I didn’t detect any signs of stress due to crowding. To compensate for the small quantity, we added them to a batch of cream peas that we bought at the farmers market and had mixed cowpeas with our dinner. We enjoyed them very much.

What surprised me was that the black-eyes ripened up all at once, but the pink-eyes ripened one or two pods at a time. The black-eyed plants mostly died as the pods matured; the pink-eyed plants are still growing and are still producing a few pods every day or two. You can see them in the picture below, nestled in between marigolds and a tomato.

20120717-001723.jpg

I planted considerably more seeds for the second wave, so I should get a much bigger yield. For this wave, I planted three varieties: Mississippi Silver, Red Ripper, and SaDandy. They have all grown enough to where I can see significant differences in their characteristics now. The Mississippi Silvers are shown in the picture below. About a week ago, they very suddenly displayed a tendency to get very floppy, for lack of a better word. They haven’t produced vines or had a tendency to run along the ground; they simply flopped over and didn’t stand back up. I ended up rigging a support out of bamboo stakes and stretchy plant tie tape — partly to get them up off the ground, but mostly to give myself room to walk, so I could get to my zucchini and tomato containers.

Other than the floppiness, they appear perfectly healthy. They are producing pods, which should be ready in another week or two. As I understand it, the pods are supposed to turn silver when they ripen, which is where they get their name. I’m looking forward to seeing them.

20120717-001753.jpg

Of all the varieties, the Mississippi Silver had by far the prettiest flower. You can see one of the blossoms below.

20120717-195953.jpg

The second variety of wave two is the Red Ripper. This is the one that is supposed to vine, and they have now started doing just that. Many of the plants needed help finding the trellis that I placed along the center. Instead, they lay down outward, away from the trellis and started running along the ground. As with the Mississippi Silver, I rigged up some supports to help guide them toward the trellis and to give me room to walk. They are not showing signs of producing peas yet, but this is consistent with what I have read about them.

20120717-002018.jpg

The last of the wave two varieties is SaDandy, a traditional Southern variety of cream pea with a reputation for excellent taste. These plants are still standing very erect with no signs of flopping over or producing runners. They are producing many pods which, as you can see below, are being held up above the foliage. Based on the size of the pods, I will not be surprised if these are ready to pick before the others.

20120717-002053.jpg

The third wave consists mostly of California Blackeyed #46 and Pinkeyed Purple Hull, with just a few Mississippi Silver, as I finished off that seed packet with this planting. There is nothing spectacular to report about this wave. They are simply growing as I would expect. Here’s a picture of how they look now.

20120717-002130.jpg

As you may recall, I pretty much ran out of room when I planted wave three. Well, it just so happened that I had a flower bed that had basically fizzled. The last of the sunflowers had gotten ripped down by one of our infamous summer thunderstorms, other varieties had never done much, and the weeds were beginning to take over. Here’s what it looked like:

20120717-002259.jpg

So, I decided to replant that flower bed and use it for more cowpeas at the same time. I saved the few remaining healthy flowers, but mostly did a complete restart. After cleaning out the weeds, I planted alternating patches of cowpeas and flowers. The cowpeas include the remaining SaDandy (only a handful), the remaining Pinkeyed Purple Hull (a few short rows), and the remaining Red Ripper (about three short rows along the fence, so they can climb), with California Blackeyed #46 everywhere else. The flowers include two varieties of sunflower (Autumn Beauty and Irish Eyes) and three varieties of native Florida wildflower (scarlet sage, gaillardia, and coreopsis). All of these are good nectar sources for butterflies and other beneficial insects. As you can see below, the cowpeas have gotten off to a good start. Some of the wildflowers are also beginning to appear but are hard to see here. I have not seen any signs of sunflowers yet.

20120717-002317.jpg

As a postscript to all this, I am hoping to continue with a wave five. I just need to figure out where to plant it. In addition to the black-eyed peas I have remaining, I have also gotten my hands on another variety, which my wife and I found at the farmers market and have been enjoying very much all summer: Zipper Cream peas. They are a type of crowder cream peas, in that they have the mild, smooth taste of cream peas, but the peas grow very large in the pod, literally crowding against one another. I am looking forward to growing some. I just need to find a space!

Happy Gardening!

Odds and Ends

This past week was one of those weeks. I’m sure you’re familiar with the kind of week that happens now and then when some of life’s other priorities demand time and attention that you much would rather spend gardening. It was one of those. As such, my gardening activities dropped off to a minimum over the last few days. Fortunately, this weekend has provided the opportunity to finally get back into the garden, so I spent some time on odds and ends — literally.

But first, an update on the status of my fall garden starts …

The first wave tomatoes and peppers, detailed here, are doing quite nicely as you can see in the picture below. All of them are looking strong and healthy, with one exception. At the time I transplanted them recently, I noticed that one of the large red cherry tomato plants was nearly severed close to the base of the stem. I do not know how this happened. Because of this, I buried it pretty deeply when I transplanted it, so that the damaged part of the stem was below ground. It lay weakly on the soil at first, but now it is beginning to stand up on its own. I wouldn’t say it’s in the clear yet, but it does look promising. The rest are doing as I would expect at this stage. I’ve been taking them outside the screened enclosure for a few hours a day to help them get accustomed to the full, unfiltered sun.

20120715-005845.jpg

My second wave plants, detailed here, are also coming along nicely. Nearly all of them have sprouted, as you can see below, so it’s about time to start putting them in more direct sunlight. Although the sun looks bright in this picture, the place where they’re sitting is shady most of the day. This picture was taken in the late afternoon, during a period of maybe half an hour a day when the sun shines on them directly.

20120715-011507.jpg

The odds.

Now, on to the odds and ends, starting with the odds. In this week’s mail, I received my last set of tomato seeds (for now, anyway). I only got three varieties this time, but each one is a bit of an oddball. I planted two of each yesterday.

  • Carbon — Heirloom aficionados often rave about the taste of black tomatoes, yet many people have never heard of them and would very likely pass them up if offered. If you expect tomatoes to be red or if you tolerate the occasional well-maybe-okay-I-guess-so-yellow, then a black tomato will look just plain wrong to you. It will be largely red, but will also have dark splotches here and there on the surface and on the inside. To the aficionado, a black tomato represents the kind of rich, complex, subtle combinations of flavor you just can’t find in ordinary reds. By way of analogy, the black tomato is a bottle of red wine from the reserve list, whereas a red tomato is the house red. Grocery store tomatoes are more like a cheap white Zinfandel. The Carbon tomato, as the name suggests, is a black tomato that produces well, yields uniformly round, mid-sized fruits, and often wins taste awards. I have never grown a black tomato before, so I figured I would start with this one.
  • Kewalo — There is nothing odd looking about this tomato, which produces a medium sized, round, red fruit. What is unusual, though, is that it is one of the few open pollinated (i.e., non-hybrid) varieties developed specifically to do well in hot climates. Not only does it tolerate heat, it is resistant to several tomato diseases common to this area. It was developed at the University of Hawaii. I decided to try this one to see how well it does for me in Central Florida.
  • White Beauty — This tomato is probably the most unusual of the three. White tomatoes are fairly rare, and this one even more so. The White Beauty is said to be the whitest of the white tomatoes (which are typically more of an ivory color). White tomatoes are not well known for their taste, and this is no exception. They tend to be high in sugars and low in acid, giving them a sweet taste, quite unlike the taste we generally associate with tomatoes. I’m growing this one more out of curiosity than anything else.

20120715-005900.jpg

The ends.

As for the “ends,” I started rooting the top ends of two edible bromeliads, more commonly known as pineapples. There is a vendor at our local farmers market who sells fresh pineapples. He cuts the top off with a knife and then uses a nifty little gadget to core and slice a whole pineapple with just a few twists of his wrist. I bought one yesterday morning and then asked him if I could have the top. He said, “Sure! How many would you like?” So, I took two.

From what I have read, it’s really easy to take a fresh top and turn it into a new plant. You place it in a pan of water about half way up to the bottom of the leaves, and you leave it there for three days. After that (whether you see roots or not) you plant it in good soil. It does the rest. It takes anywhere from 24 to 36 months to produce another pineapple, but in the meantime, you have a nice tropical plant. The picture below shows these two sitting in a tray lid with about an inch of water. Perhaps I should name them Mutt and Jeff. Better yet, maybe I’ll call them Odd and End.

20120715-005907.jpg

Happy Gardening!

Wordless Wednesday Waiting Game

20120711-113737.jpg

20120711-113755.jpg

20120711-113809.jpg

20120711-113821.jpg

20120711-113831.jpg

20120711-113843.jpg

20120711-113855.jpg

20120711-113907.jpg

20120711-113918.jpg

Impulse Gardening

Regular readers of this blog have undoubtedly discovered by now that I tend to be somewhat methodical when it comes to my garden. But that’s not always the case. Over the course of the last few days, I brought home a total of six plants (five different kinds) on occasions when I had gone out specifically to get something else.

On the first occasion, I had gone out to buy nursery pots so that I could transplant the first wave of fall plant starts, as detailed in the blog post, Seasons in the Sunshine State. Now, you would think that in a town the size of Orlando, there would be plenty of stores at which to buy plain old, ordinary, plastic, cheap plant pots. But, no. So far, I have found a grand total of one place where I can buy them. Had I planned ahead, I could have ordered some online, but I didn’t, so I made the trip across town to Urban Sunshine, a retailer that specializes in organics and hydroponics. It just so happens that they also carry nursery pots. The size I wanted was a whopping 50 cents apiece, so I was happy.

But, wouldn’t it be silly to drive all the way across town and come home with nothing but fifty-cent plastic pots? Of course it would. It would also be silly to pass up the gorgeous zucchini plants that were only $1.95 apiece, right? It would be even sillier, given that I had the organics experts right there to tell me how to address my squash vine borer problem! Right? I thought you’d agree. Never mind that at $9.95, the bottle of Captain Jack’s Dead Bug Brew with Spinosad, which is what they recommended, cost more than the zucchini plants and the pots put together.

So, I came home that day with two brand new zucchini plants, a bottle of organic insecticide, and of course, my nursery pots. I didn’t really have good places available in my garden for the zucchini, but I did have some unused 7-gallon containers, so that is where the new plants ended up. I didn’t think to take a picture of the zucchini up close, but you can see them in the picture below. They are in the second and fourth pots along the fence.

20120709-001912.jpg

After making enough Mel’s Mix to fill the two 7-gallon containers and enough to fill 32 small pots, I realized I was getting low on vermiculite. Since I buy it in 4 cubit foot bags, such as the one Emma is inspecting below, I don’t have to buy it very often. Fortunately, I have found a local supplier who always seems to have that size bag in stock, and they sell it at a good price. Unfortunately, that supplier is the one I had just come from, Urban Sunshine. Alas, back I headed across town.

20120709-221342.jpg

As expected, they had the 4 cubit foot bags in stock, so I got one. I was so pleased with the zucchini, I just had to look around again. What caught my eye was the cayenne pepper plant shown below. At only $1.95, I thought that was hard to beat. Before sundown, it was nestled into its new home in one of my raised beds.

20120709-001827.jpg

This time, rather than plan a trip across town for just one thing, I decided to stop by Home Depot on my way home to get that other raised bed kit I’ve been thinking about. After finding exactly what I was looking for, I thought I would look at the tomato plants to see if they had any interesting heirlooms that I wasn’t already growing. Not only did they have 1-gallon pots of two different varieties that I was interested in, their 1-gallon plants were on sale at 3 for $10. So, I came home with two heirlooms and a hybrid developed specifically to perform well in the hot Florida summer. The heirlooms are a Mr. Stripey and a Yellow Pear. The hybrid is a Solar Fire.

I planted the heirlooms in my remaining two 7-gallon containers (first and third containers along the fence row above). The Solar Fire ended up in the raised bed near the Cayenne. Here’s a picture of the Mr. Stripey:

20120709-001839.jpg

Here’s a picture of the Yellow Pear:

20120709-001849.jpg
And here’s a close-up of the Yellow Pear’s tomatoes, already on the vine:

20120709-001858.jpg

Happy gardening!

Sixty-Four Promises

20120707-114247.jpg

This morning I planted the second wave of tomatoes and peppers for my fall garden. The first wave was planted in early June, and those plants have all been moved from their starter tray into medium-sized pots filled with nutritious Mel’s Mix. They’re spending all day in the filtered sunlight of our screened-in pool enclosure now. They’re still small enough to where I pull them in under a shelter if it looks like we’ll get a heavy downpour. Soon, I will start exposing them a few hours at a time to full-strength sunlight in the yard. Before you know it, they will be out there full time.

20120707-115716.jpg

This morning’s planting is part of my continuing quest to find the best time of year to start fall plantings. As I reported previously, last year I started my tomatoes and peppers in early August, but didn’t see the first ripe fruits until New Year’s Day. Is it asking too much to harvest my fall garden during the fall?

Logic suggests that the first wave should be ready around the October/November timeframe, and that today’s plants should start to yield fruit in the November/December range. But then, I have been gardening long enough to know that gardens follow their own logic and do not always conform themselves to the human perspective. The bottom line is that these plants will be ready when they’re ready, assuming I do my part and Mother Nature doesn’t come up with any unwelcome surprises.

Today’s planting very nearly duplicates the first wave planting, as described in my earlier blog post, Seasons in the Sunshine State. In that wave, I planted two each of six varieties of pepper and 10 varieties of tomato, each of which is described in detail in that earlier post. Today I changed up the mixture a bit (three of some varieties, two of others, and some with only one), plus I added an eleventh tomato variety:

  • Virginia’s Yellow Tommy Toe — Although most written accounts credit their origin to the Ozarks, Tommy Toe tomatoes are frequently found growing as volunteers along the periphery or even outside of gardens throughout southern Appalachia. Given the patterns of human migration in recent centuries, I can’t help but give more credence to the oral history version that places the origin farther east. Unlike their more refined cherry and grape tomato cousins, Tommy Toes have not been selected for their sweetness. Instead, they tend to have more of the tangy flavor characteristic of full sized tomato varieties. They also tend to be disease resistant and to continue yielding fruit late into the fall, both of which are attractive qualities to me here in Central Florida. Tommy Toes are also commonly saved as heirlooms and passed down from one generation to the next. This particular variety is from Lee County, Virginia, which is the westernmost county in the state, bordering on both Kentucky and Tennessee where the three states meet at the Cumberland Gap. Although I don’t have any childhood memories of that region, many of my ancestors just a few generations back either lived in or near Lee County or passed through the region while migrating to Kentucky. I purchased these seeds from the Sustainable Mountain Agriculture Center.

The full list of varieties for today is as follows:

  • Peppers
    • Black Hungarian (2)
    • California Wonder Sweet (2)
    • Fish (2)
    • Jalapeño M (1)
    • Jalapeño Traveler (1)
    • Long Red Cayenne (1)
  • Tomatoes
    • Amish Paste (3)
    • Brandywine (1)
    • Brandywine Suddath’s Strain (1)
    • Cherokee Purple (3)
    • Large Red Cherry (2)
    • Lemon Drop (2)
    • Riesentraube (2)
    • Super Sioux 2011 (2)
    • Super Sioux 2012 (2)
    • Vinson Watts (2)
    • Virginia’s Tommy Toe (3)

Taken together, this adds up to 32 starter tray compartments. Each compartment holds the promise of a season’s worth of growth, leading to whatever yield is within that plant’s potential. In turn, as I dropped the seeds into each compartment, I made a promise to nurture the tender seedlings and to tend to the plants as best I can throughout their lives in my garden. This seasonal ritual represents an interspecies pact as old as civilization itself. Yet, for me it’s as fresh as this morning’s planting.

Happy gardening!

20120707-114316.jpg

Tomatoes – Our Love-Hate Relationship

A few weeks ago, in my blog post called “There’s Something About Tomatoes,” I pondered what it is about tomatoes that attracts gardeners so much, while the commercial varieties seem to repel us almost universally. As it turns out, I’m not the only one who has been thinking about this.

Just last week, on the National Public Radio show, “All Things Considered,” journalist Dan Charles pondered the same topic. In case you missed it, here’s a link to the segment entitled “How The Taste of Tomatoes Went Bad (And Kept On Going).” If you are able to listen to the audio, it is well worth the five and half minutes it will take you. If not, you can read the transcript at the same link.

Interestingly, I have been reading a book on the same subject. The book, written by Arthur Allen, is entitled Ripe: The Search for the Perfect Tomato. I haven’t finished the book yet, so I’m not ready to post a review of it, but I’m curious: have any of you read it? If so, what were your thoughts? I’d love to hear from you!

Meanwhile, I have lots of beautiful tomato vines in my garden, but only two lonely fruits waiting to ripen. Although I hate to wish time away, I’m anxious for the hot days and warm, muggy nights of summer to fade into the past so I can get my fall garden in the ground with a whole assortment of heirloom varieties!